Imagine this: your brand new bar top is ready. It’s the centerpiece of your home, a place for laughter, good food, and great memories. But what will protect it and make it shine? Choosing the right finish for your bar top is a big decision! It’s like picking the perfect outfit for a special occasion – it needs to look good and stand up to a lot of action.
You might be feeling a little overwhelmed right now. There are so many choices out there! Some finishes look amazing but scratch easily. Others are super tough but don’t have that “wow” factor. You want something that not only looks fantastic but also lasts for years, resisting spills, heat, and everyday bumps. It can be tricky to know which one is best for your needs and your budget.
Don’t worry! By the time you finish reading this post, you’ll have a much clearer picture. We’ll break down the different types of bar top finishes, explaining what makes each one special. You’ll learn about their pros and cons so you can pick the perfect one for your home. Get ready to discover the secrets to a beautiful and durable bar top!
Our Top 5 Finish For Bar Top Recommendations at a Glance
Top 5 Finish For Bar Top Detailed Reviews
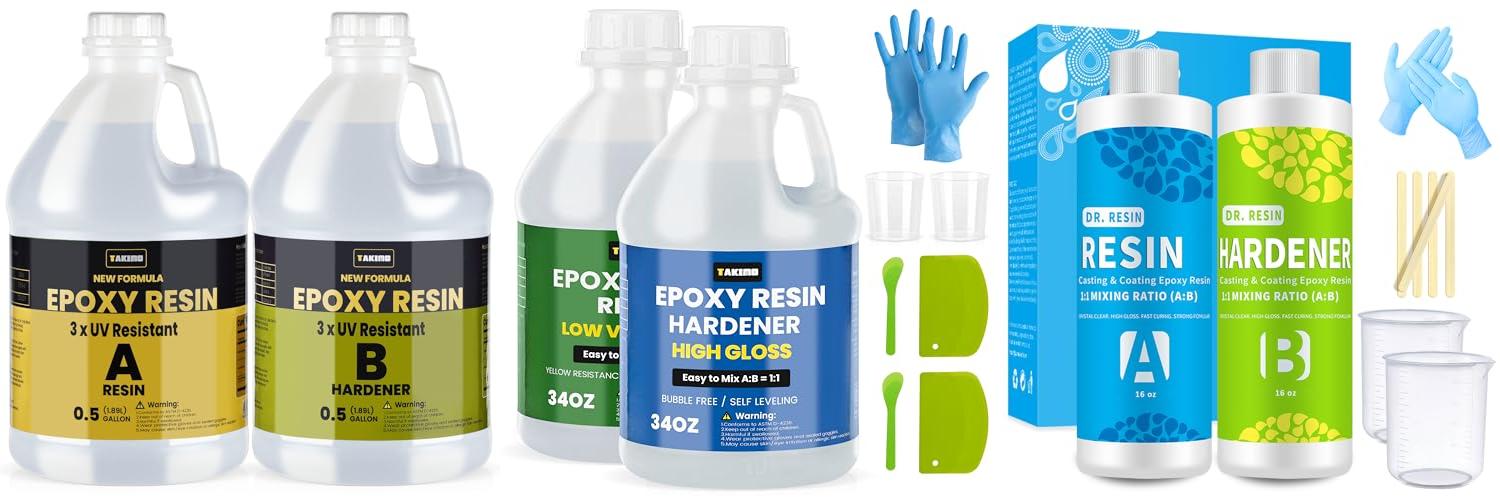
1. TAKIMO 1 Gallon 3×UV Resistant Resin Kit

Rating: 8.5/10
The TAKIMO 1 Gallon 3×UV Resistant Resin Kit promises a crystal-clear, high-gloss finish for all your DIY projects. Whether you’re crafting jewelry, pouring a river table, or coating a countertop, this kit aims to deliver professional results with ease. It’s designed for both beginners and experienced artists, offering a fast cure time and impressive durability.
What We Like:
- Easy to Use & Fast Cure: Mixes in a simple 1:1 ratio and cures in 8-24 hours, perfect for quick projects.
- Super Clear & UV Resistant: Offers a glass-like finish that resists yellowing up to 3 times longer than other resins.
- No Bubbles: The formula includes defoamer to eliminate air bubbles, making your projects look smooth and professional.
- Durable & Heat Resistant: Becomes hard as a rock and withstands heat up to 203℉ (95℃) after curing.
- Versatile: Works great for coating, casting, table tops, bar tops, river tables, resin art, and wood projects.
- Safe for Users: It’s non-toxic, odorless, and non-flammable, offering a safer experience.
What Could Be Improved:
- Layer Thickness Recommendation: It’s recommended to pour layers no more than 1/4 inch thick, which might require multiple pours for larger projects.
- Prewarming in Cold Weather: You need to prewarm the resin and hardener in cold temperatures for best results, which is an extra step.
This TAKIMO resin kit is a fantastic option for anyone looking to achieve stunning, long-lasting resin creations. It simplifies the process for newcomers while providing the quality expected by seasoned crafters.
2. 68oz Crystal Clear Resin Kit

Rating: 9.3/10
Unleash your creativity with the 68oz Crystal Clear Resin Kit, designed for stunning, bubble-free finishes on all your DIY projects. This kit provides everything you need to create beautiful, high-gloss resin art, tabletops, river tables, and more, whether you’re a seasoned pro or just starting out.
What We Like:
- It’s super easy to use, just mix equal parts resin and hardener.
- It cures fast, usually within 8-24 hours, so you can see your creations come to life quickly.
- The resin stays crystal clear and won’t turn yellow over time, keeping your projects looking amazing.
- It has a built-in defoamer that gets rid of bubbles, giving you a smooth, glass-like finish.
- It’s safe to use, with no strong odors or flammability.
- It can handle heat up to 203℉ (95℃) and resists scratches once cured.
- It works perfectly with silicone molds without tearing them.
What Could Be Improved:
- For best results in cold weather, you need to warm up the resin and hardener first.
- It’s recommended to pour in layers no thicker than 1/4 inch to ensure bubbles are eliminated effectively.
This resin kit offers a fantastic user experience for both beginners and experienced crafters. Get ready to create professional-looking projects with ease and enjoy the durable, high-gloss results.
3. Clear Epoxy Resin Kit 2 Part 32 oz for Table Bar Top Countertop Wood Food Safe Self-Leveling Resina Epoxica Casting Coat Set for Art Cratft Tumblers Jewelry Molds

Rating: 9.3/10
Unleash your creativity with this Clear Epoxy Resin Kit! This 32 oz set is packed with everything you need to bring your artistic visions to life. Whether you’re crafting beautiful jewelry, creating stunning tumblers, or giving your wood projects a professional, glossy finish, this kit is your go-to solution. It’s even food-safe, making it perfect for countertops and bar tops.
What We Like:
- This kit is a great value, offering a generous 32 oz of high-quality epoxy resin and hardener.
- You get started right away with 4 bonus items included in the package.
- The resin is premium quality, curing fast and hardening to a crystal-clear finish that looks amazing.
- It’s perfect for all sorts of art projects, from casting and coating to wood finishes and jewelry.
- Mixing is super easy with a simple one-to-one ratio, so there’s no guesswork involved.
- The self-leveling formula helps ensure a smooth, professional-looking surface every time.
What Could Be Improved:
- While the instructions are clear, it’s important to read them carefully before you begin.
- If you run into any questions, you’ll need to contact them through Amazon for support.
This epoxy resin kit provides a fantastic way to elevate your crafts. With its ease of use and excellent results, it’s a must-have for any DIY enthusiast.
4. 16OZ 3×UV Resistant Resin Kit

Rating: 8.9/10
Unleash your creativity with this 16OZ 3×UV Resistant Resin Kit! It’s designed to help you make stunning, crystal-clear projects with a super glossy finish. Whether you’re a beginner or a pro, this kit makes crafting easy and fun. You can use it for everything from jewelry and coasters to beautiful tabletops and river tables.
What We Like:
- It’s super easy to use, even for beginners. Just mix equal parts of resin and hardener.
- The resin cures fast, usually in 8-24 hours, so you can finish your projects quickly.
- It’s 3 times more UV resistant than other resins, meaning your creations won’t yellow over time.
- You get a beautiful, rock-hard, glass-like finish that’s incredibly shiny.
- The formula includes a defoamer, so you won’t have annoying bubbles in your work.
- It’s non-toxic and odorless, making it safer to use than many other resin kits.
- It can handle heat up to 203℉ (95℃) and resists scratches once cured.
- It has a generous 40-minute working time, giving you plenty of time to get your design just right.
What Could Be Improved:
- For best results in cold weather, you need to warm up the resin and hardener first.
- It’s recommended to pour layers no thicker than 1/4 inch to ensure bubbles disappear.
- Following the instructions carefully and doing a small test piece is important to avoid common resin issues.
This resin kit offers a fantastic way to bring your artistic visions to life with professional-looking results. It’s a reliable choice for anyone looking to create durable and beautiful resin art.
5. WiseBond Table Top Epoxy Resin 1 Gallon Kit

Rating: 8.7/10
Transform your surfaces with the WiseBond Table Top Epoxy Resin 1 Gallon Kit. This kit offers a crystal-clear, high-gloss finish that resists yellowing, making it perfect for DIY projects like bar tops, countertops, and art pieces. It’s made in the USA and designed for ease of use, even for beginners.
What We Like:
- Creates a beautiful, crystal-clear, high-gloss finish.
- It’s food-safe once cured, meeting 21 CFR 175.300 standards.
- Very easy to mix with a simple 1:1 ratio, perfect for beginners.
- It’s UV resistant and anti-yellowing, so your projects stay looking new.
- The self-leveling formula makes application smooth and easy.
- It has a fast 24-hour cure time and is water and scratch-resistant.
- Made in the USA with a 100% satisfaction guarantee.
- Minimal odor and zero VOCs make it safer for indoor use.
What Could Be Improved:
- The kit is a 1-gallon size, which might be too much for very small projects.
- While easy to use, proper surface preparation is still crucial for the best results.
This WiseBond epoxy resin kit provides a durable and stunning finish for your DIY creations. It’s a reliable choice for anyone looking to add a professional touch to their projects.
Choosing the Best Finish for Your Bar Top
You’ve built or bought the perfect bar top. Now, you need to protect it and make it look amazing! A good finish does both. This guide will help you pick the best one for your needs.
1. Key Features to Look For
When you shop for a bar top finish, keep these important features in mind:
- Durability: Your bar top will see a lot of action. Drinks will spill, glasses will slide, and people will lean on it. The finish needs to be tough. Look for finishes that resist scratches, heat, and water.
- Water Resistance: This is super important. Bar tops often get wet. A good finish stops water from soaking into the wood and causing stains or damage.
- Heat Resistance: Hot coffee cups or serving dishes can leave marks. A finish that can handle some heat is a big plus.
- Ease of Application: Are you a DIY pro or a beginner? Some finishes are easy to brush or wipe on. Others might need special tools or techniques.
- Appearance: What look do you want? Do you want a shiny, glossy finish? Or a more natural, matte look? Some finishes can change the color of the wood, making it look richer.
- Low VOCs: VOCs (Volatile Organic Compounds) are chemicals that can be bad for your health and the environment. Finishes with low VOCs are a healthier choice.
2. Important Materials
Bar top finishes are made from different things. Knowing these will help you choose:
- Polyurethane: This is a very popular choice. It’s strong and protects well against water and scratches. It comes in oil-based and water-based types.
- Oil-based polyurethane: This is tougher and more water-resistant. It often gives a warmer, amber tone to the wood. It takes longer to dry and has stronger fumes.
- Water-based polyurethane: This dries faster and has fewer fumes. It stays clear and doesn’t yellow over time as much as oil-based. It might not be quite as tough.
- Epoxy Resin: This creates a super-hard, glass-like finish. It’s very durable and waterproof. Epoxy can fill in small gaps and create a smooth, seamless surface. It often has a glossy look.
- Varnish: Similar to polyurethane, varnish offers good protection. It often contains oil and resin. It can be very durable and water-resistant.
- Lacquer: Lacquer dries very quickly and creates a smooth, hard finish. It’s often used for a high-gloss look. It can be less durable than polyurethane or epoxy against heat and scratches.
3. Factors That Improve or Reduce Quality
Some things make a finish work better, while others can cause problems.
What Improves Quality:
- Proper Preparation: Cleaning and sanding your bar top well before applying the finish is key. This helps the finish stick better and look smoother.
- Multiple Thin Coats: Applying several thin coats is better than one thick coat. It gives a more even and durable finish. Let each coat dry completely before applying the next.
- Good Ventilation: When applying finishes, especially oil-based ones, good airflow helps them dry properly and reduces fumes.
- Following Manufacturer Instructions: Every product is a little different. Read and follow the directions on the can or bottle.
What Reduces Quality:
- Applying to a Dirty Surface: Dust, grease, or old finishes will prevent the new finish from sticking. This leads to peeling or an uneven look.
- Applying in Damp Conditions: Moisture can ruin some finishes. They might not dry correctly or could develop cloudy spots.
- Skipping Sanding Between Coats: Lightly sanding between coats (with fine-grit sandpaper) helps the next coat stick better. Skipping this step can lead to a rougher finish.
- Using the Wrong Finish for the Job: A finish meant for a wall won’t work well on a bar top that gets wet and hot.
4. User Experience and Use Cases
How will you use your bar top? This matters a lot!
- Home Bar: If you’re building a home bar for parties, you need something tough and easy to clean. Polyurethane or epoxy are great choices. They can handle spills and are easy to wipe down.
- Kitchen Island: A kitchen island gets a lot of use. It needs to be durable and resistant to heat and moisture from cooking. A good quality polyurethane or a tough varnish works well here.
- Commercial Bar: For a busy restaurant or bar, the finish must be super durable. It needs to withstand constant cleaning, spills, and heavy use. Epoxy resin is often a top choice for its extreme durability.
- Craft Projects: If you’re finishing a smaller decorative bar top, you might have more flexibility. You could choose a finish based more on its appearance and how easy it is to apply.
Frequently Asked Questions (FAQ)
Q: What is the most durable finish for a bar top?
A: Epoxy resin is generally the most durable finish. It creates a very hard, thick, and waterproof layer that resists scratches and heat extremely well.
Q: How do I prepare my bar top before applying a finish?
A: You need to clean your bar top thoroughly. Then, sand it smooth with fine-grit sandpaper. Wipe away all the dust before you start applying the finish.
Q: Can I use a regular wood stain on my bar top?
A: You can stain your bar top, but you still need to put a protective finish over it. The stain colors the wood, but it doesn’t protect it from spills or damage.
Q: How many coats of finish should I apply?
A: Most bar tops need at least 3-4 coats of finish. For very heavy-use areas, you might want to apply 5-6 coats. Always follow the product’s instructions.
Q: How long does it take for a bar top finish to cure?
A: Curing time varies. Some finishes are dry to the touch in a few hours, but they need days or even weeks to fully harden and reach their maximum durability.
Q: Can I apply a new finish over an old one?
A: Yes, usually. You need to clean the old finish well and then lightly sand it. This helps the new finish stick properly. If the old finish is damaged, you might need to remove it first.
Q: Which finish is best for a high-gloss look?
A: Epoxy resin and high-gloss polyurethane are excellent choices for a shiny, mirror-like finish. You’ll need to sand and buff to get a perfect shine.
Q: Are there any eco-friendly bar top finishes?
A: Yes, look for finishes labeled “low VOC” or “zero VOC.” Water-based polyurethanes are often a better choice for the environment and your health.
Q: What if I spill something acidic on my bar top?
A: A good quality bar top finish, especially epoxy or polyurethane, should resist mild acids. Wipe up spills quickly to prevent any potential damage.
Q: How do I clean and maintain a finished bar top?
A: Use a soft cloth with mild soap and water. Avoid harsh cleaners or abrasive pads, as these can scratch or dull the finish over time.
In conclusion, every product has unique features and benefits. We hope this review helps you decide if it meets your needs. An informed choice ensures the best experience.
If you have any questions or feedback, please share them in the comments. Your input helps everyone. Thank you for reading.

Hi, I’m Mette Morgan—a lifelong pet enthusiast and the heart behind PetNobs.com.. My journey with animals began at an early age, and over the years, I’ve gathered invaluable experiences and insights on everything from everyday pet care to the unique quirks each animal brings to our lives. Here at PetNobs, I share my genuine passion, practical tips, and personal stories to help you create a loving, well-informed environment for your furry, feathered, or scaled friends. Welcome to my little corner of the pet world—it’s a joy to have you here!